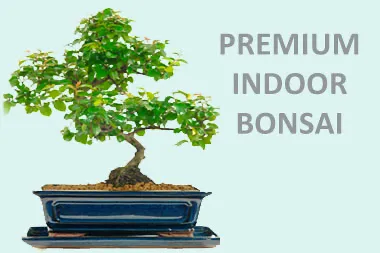
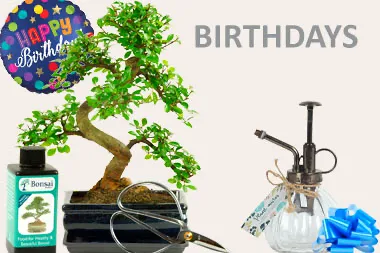


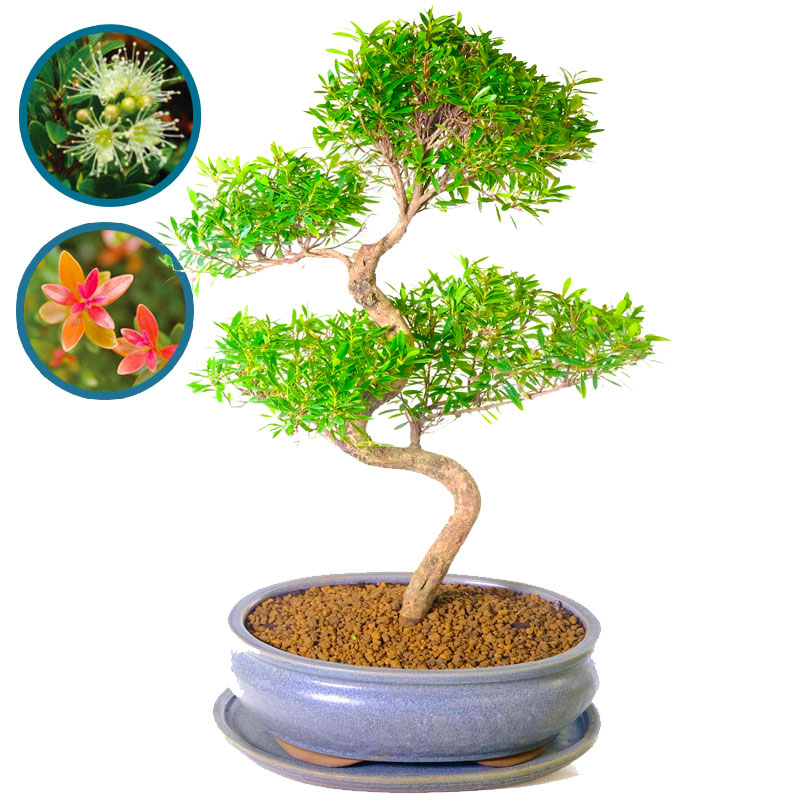
INDOOR BONSAI TREE
PERSONALISED BONSAI TREE GIFTS
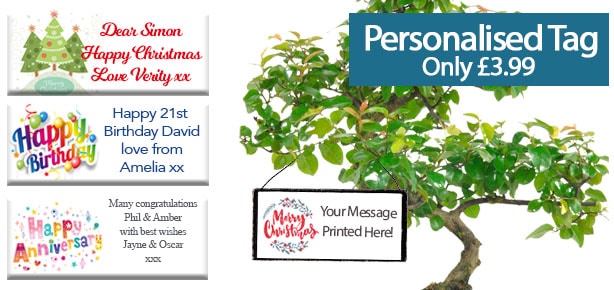
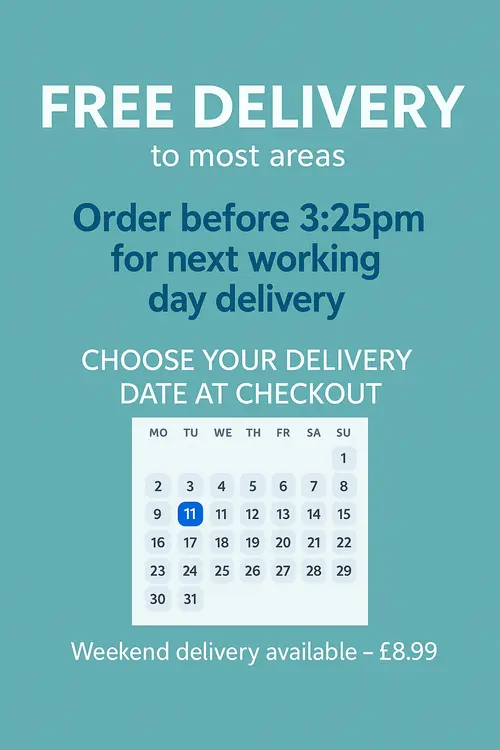
We offer the most fabulous range of beginners indoor bonsai trees for sale, with stunning gift wrap options and the opportunity to personalise your gift with your special message. You may choose a label design from our bespoke templates and simply add your personal message. Inspired quality gifts for all occasions, with FREE next working day delivery to most areas. You may choose your delivery date at the checkout. Bonsai – the gift that keeps on growing! Find out more >
OUR GIFT EXPERIENCE
Bonsai trees make wonderful, unique and unusual gifts. They are artistic in form and create a beautiful calming ambience within the home. Personalised bonsai make creative and imaginative gifts. We offer fabulous collections of bonsai tree gifts for all occasions. Read more about our fabulous gift experience and first class service from the professionals at Bonsai Direct. Find out more>


DISCOVER MORE BONSAI TREES


BONSAI DIRECT A LEADING ONLINE BONSAI TREE NURSERY
We offer top quality bonsai trees and unique stylish bonsai gifts, with next day delivery available. Bonsai Direct is dedicated to the highest levels of customer service and pride ourselves on the importance of delivering bonsai and bonsai gifts with care.
We offer a stunning range of indoor bonsai trees, bonsai pots, bonsai tools, outdoor bonsai, bonsai accessories and quality gifts for all occasions. So whatever the occasion; a birthday, anniversary, new baby, new home, wedding, retirement, Christmas, Valentine’s Day, Mother’s Day, Father’s Day or to send congratulations, you can be sure that BONSAI DIRECT (The BIG Little Tree Experts), will deliver the perfect gift. Bonsai Direct also offers the ideal solution to striking corporate gifts with a difference.
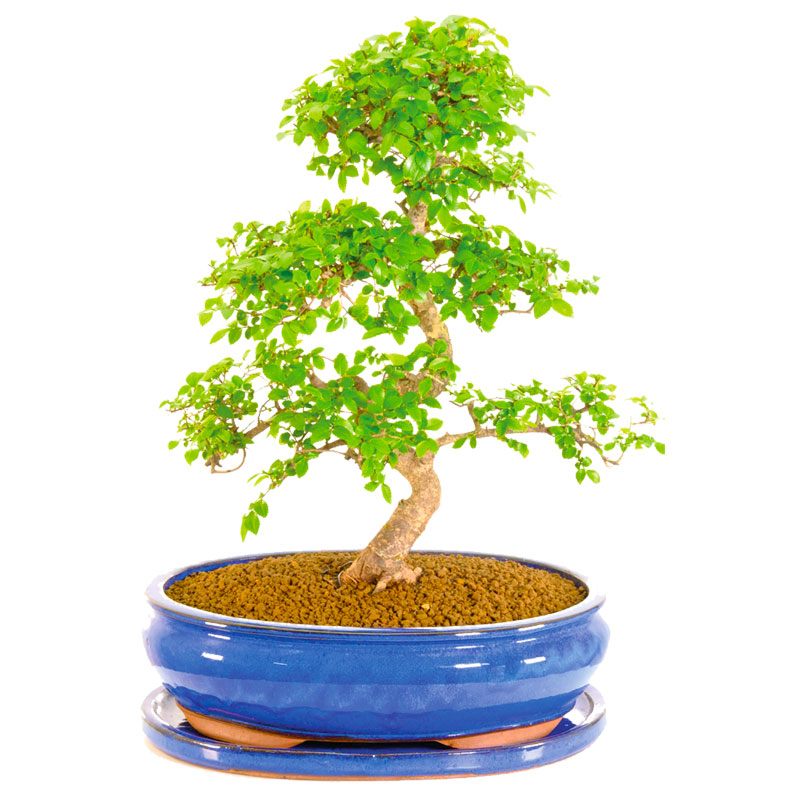
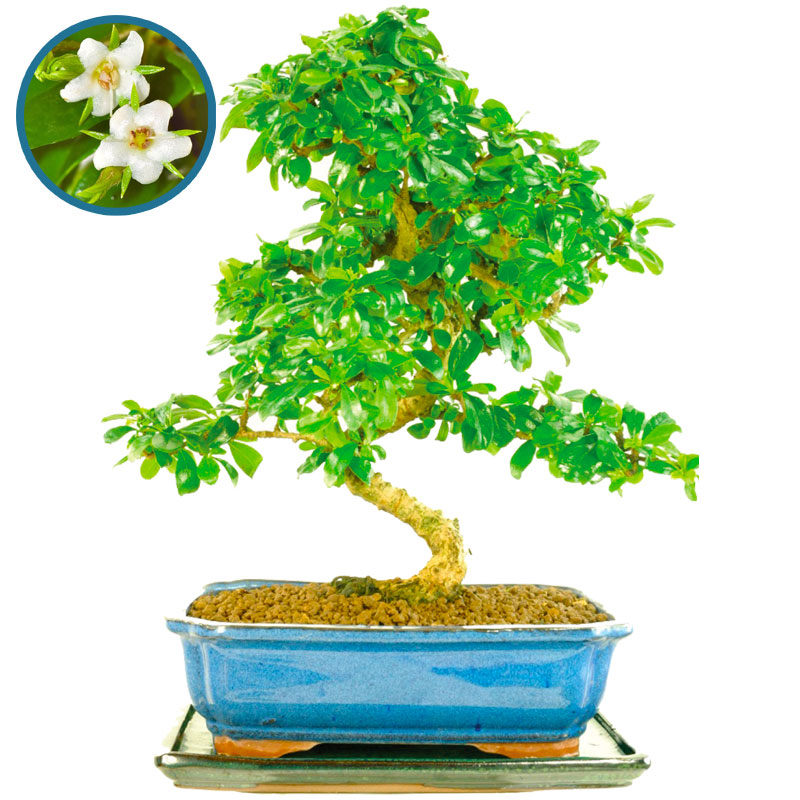
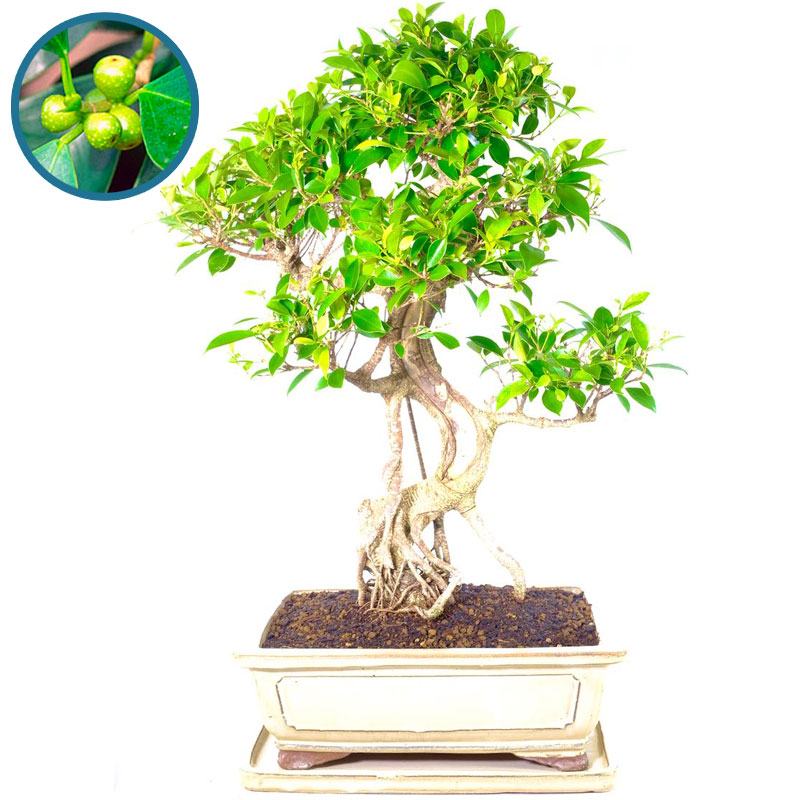
There is a fantastic Range of Bonsai trees for sale from the bonsai professionals at Bonsai Direct.
Make sure you sign up for our newsletter (at the bottom of the page). You will gain priority access to new products and exclusive offers. You can also find us on Facebook, Instagram, Twitter, TikTok and Pinterest for behind the scenes, tutorials and lots of other care advice!